
Rocky Linux 9 설치 구성에서 서버 그룹 등을 선택하여 설치하면 Cockpit이 포함되어 함께 설치됩니다. Cockpit을 통해 웹 브라우저에서 서버 설정 관리를 할 수 있습니다.
Cockpit 활성화
콘솔 로그인 프롬프트에 [Activate the web console ***] 이렇게 표시된 대로 Cockpit을 활성화하면 Web 관리 콘솔을 이용할 수 있습니다.
[root@samplehost ~]# systemctl enable --now cockpit.socket
Created symlink /etc/systemd/system/sockets.target.wants/cockpit.socket -> /usr/lib/systemd/system/cockpit.socket.
Cockpit은 9090을 리스닝하고 있습니다.
[root@samplehost ~]# ss -napt
State      Recv-Q     Send-Q          Local Address:Port             Peer Address:Port      Process
LISTEN     0          128                   0.0.0.0:22                    0.0.0.0:*          users:(("sshd",pid=850,fd=3))
ESTAB      0          52             192.168.78.250:22             192.168.78.214:60876      users:(("sshd",pid=1729,fd=4),("sshd",pid=1709,fd=4))
LISTEN     0          4096                        *:9090                        *:*          users:(("systemd",pid=1,fd=75))
LISTEN     0          128                      [::]:22                       [::]:*          users:(("sshd",pid=850,fd=4))
Firewalld 가동 중인 경우 아래 커맨드로 허가 설정을 확인할 수 있습니다. (기본은 cockpit 허용)
[root@samplehost ~]# firewall-cmd --list-service
cockpit dhcpv6-client ssh
만약 확인 결과에 [cockpit]이 포함되어 있지 않은 경우 허가하고 싶다면 아래의 커맨드를 사용합니다. success 메시지가 출력되면 정상적으로 처리된 것입니다.
firewall-cmd --add-service=cockpit
firewall-cmd --runtime-to-permanent
웹 콘솔 접속
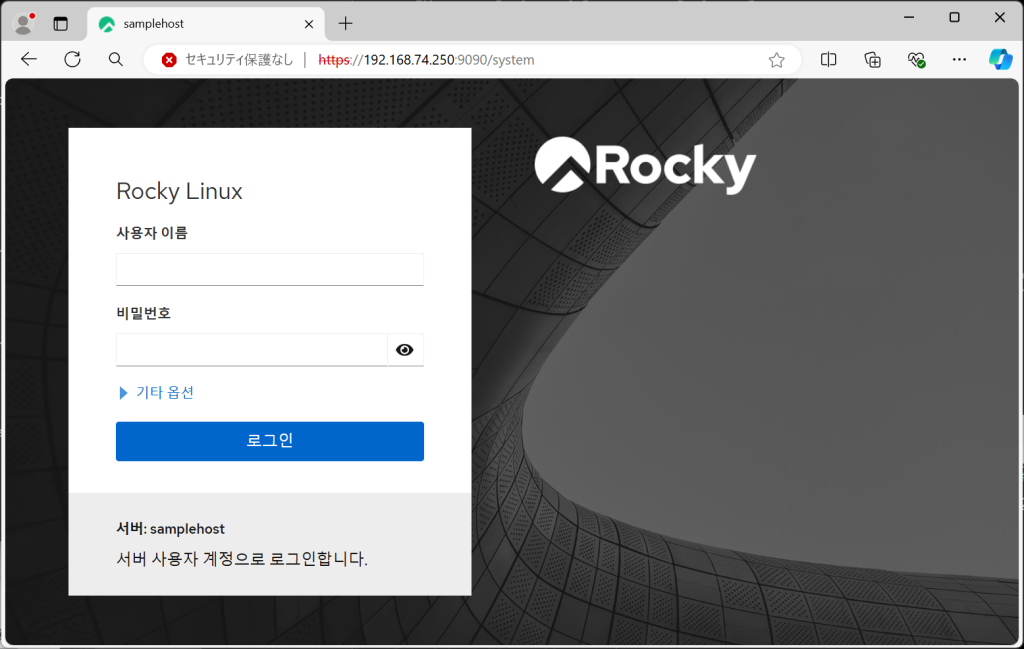
로컬 호스트에서 웹 브라우저를 실행시켜 “https://(서버 호스트명 또는 IP 주소):9090/”에 접속합니다. 접속하면 아래와 같이 Rocky Linux의 Cockpit 로그인 화면이 나타납니다. 유저와 패스워드를 입력해 로그인합니다.
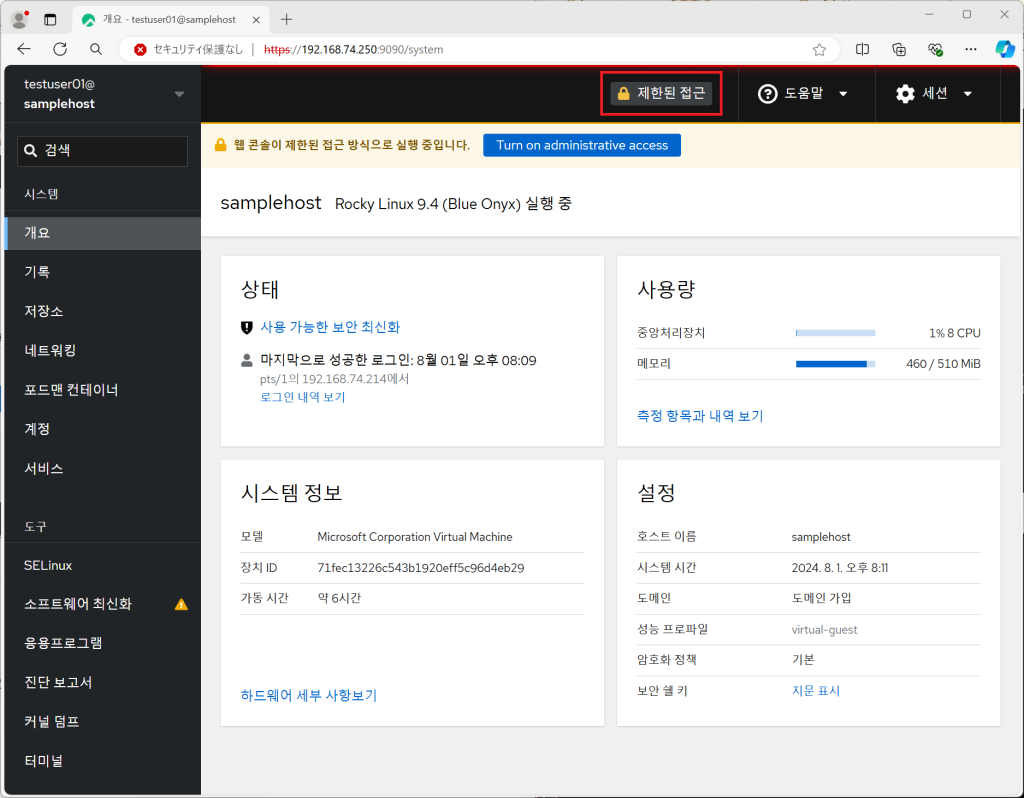
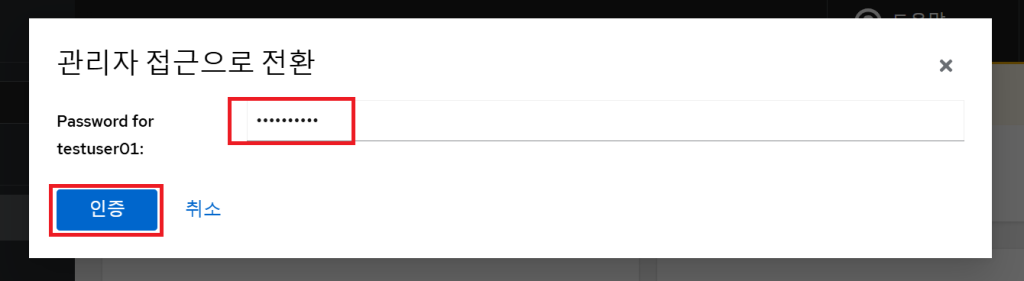
Cockpit의 메인 화면인 “개요” 페이지가 표시됩니다. 여기서부터 다양한 시스템 관리 조작을 실시할 수 있습니다. 관리자 유저가 아닌 경우에는 “제한된 접근”을 클릭하여 관리자 유저로 접속할 수 있습니다.
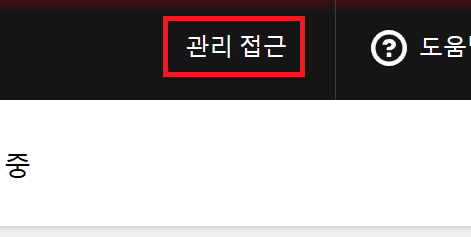
“제한된 접근” 버튼이 “관리 접근”으로 변합니다. “관리 접근”을 클릭하면 다시 제한된 접근으로 돌아갈 수 있습니다.
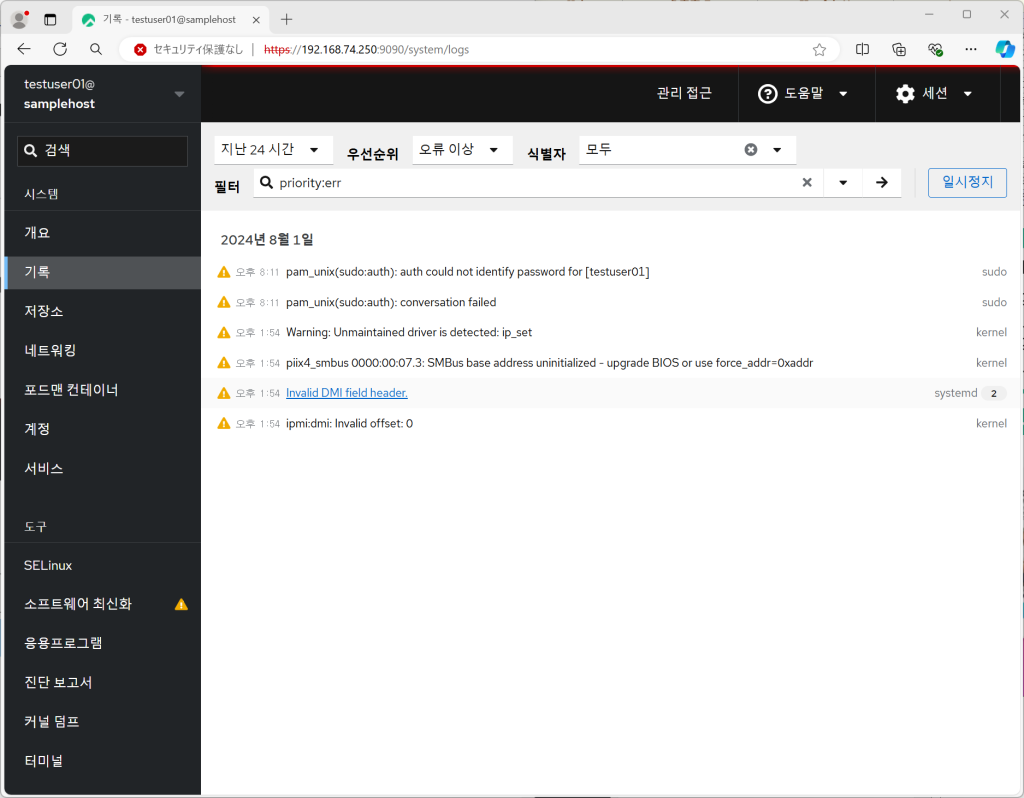
메뉴 “기록”
“기록”에서는 로그 관리 서비스 Journal의 관리 및 조작이 가능합니다.
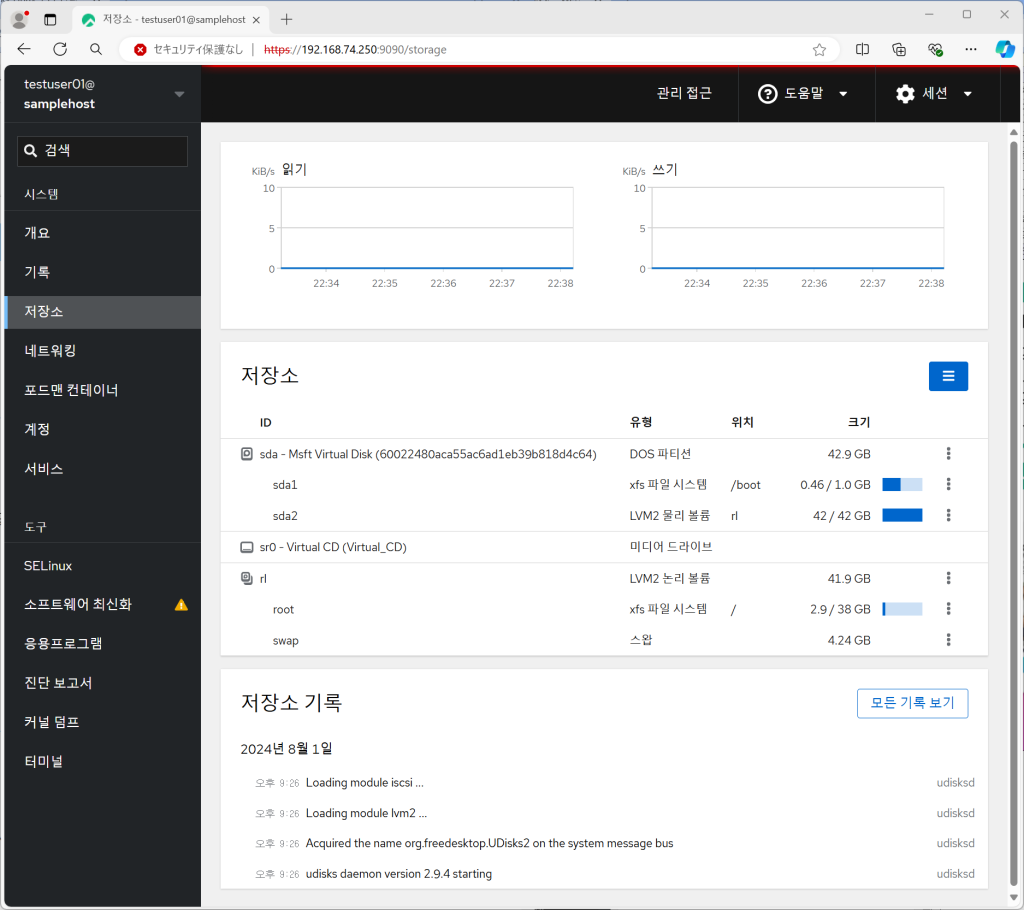
메뉴 “저장소”
“저장소”에서는 스토리지의 관리·조작이 가능합니다.
메뉴 “네트워킹”
네트워킹에서는 네트워크의 관리·조작이 가능합니다.

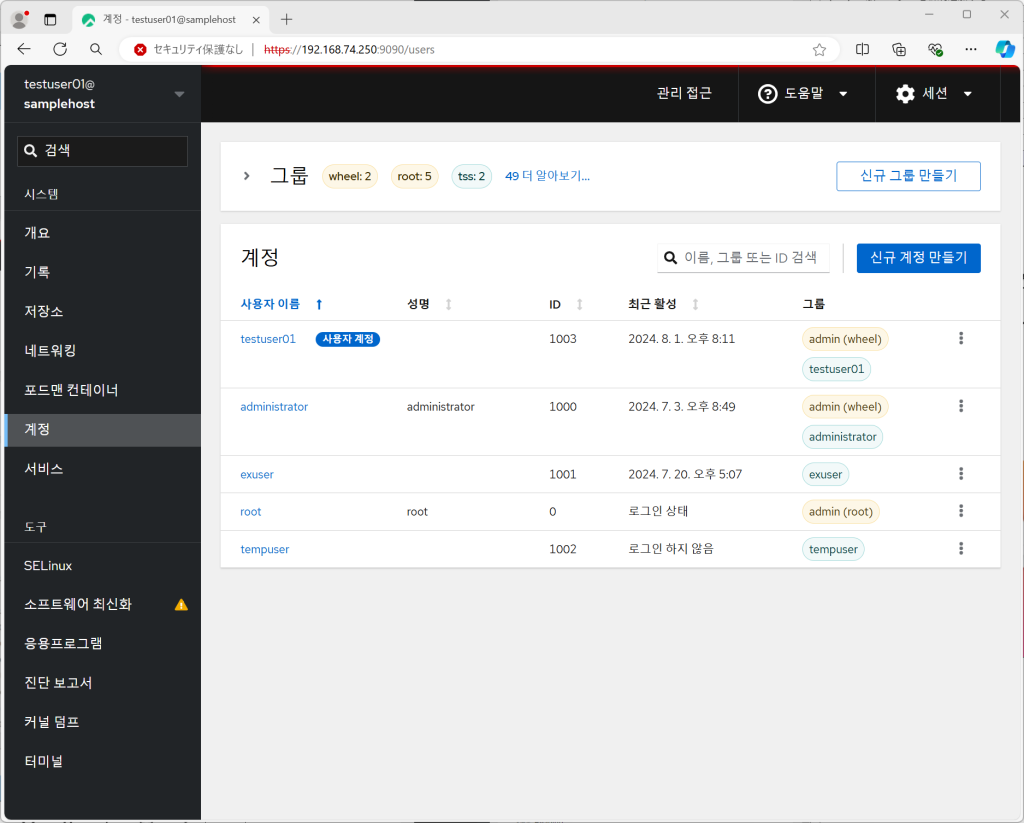
메뉴 “계정”
“계정”에서는 유저 관리 및 조작이 가능합니다.
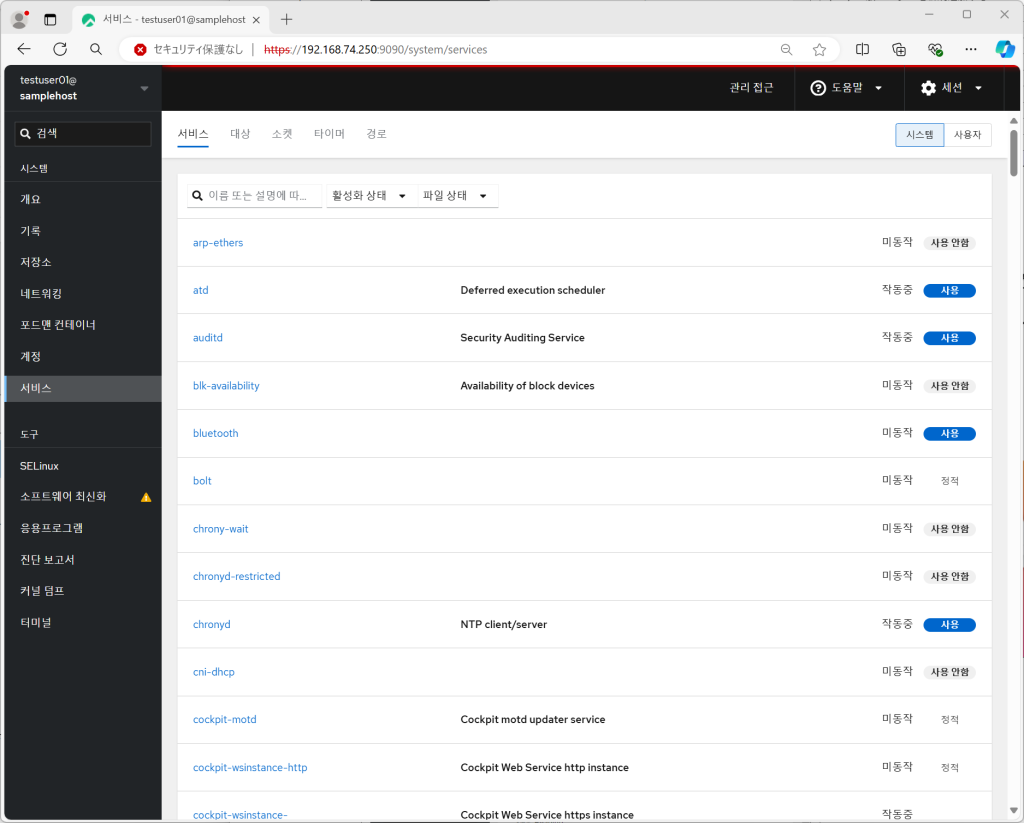
메뉴 “서비스”
“서비스”에서는 각 서비스의 관리·조작이 가능합니다.
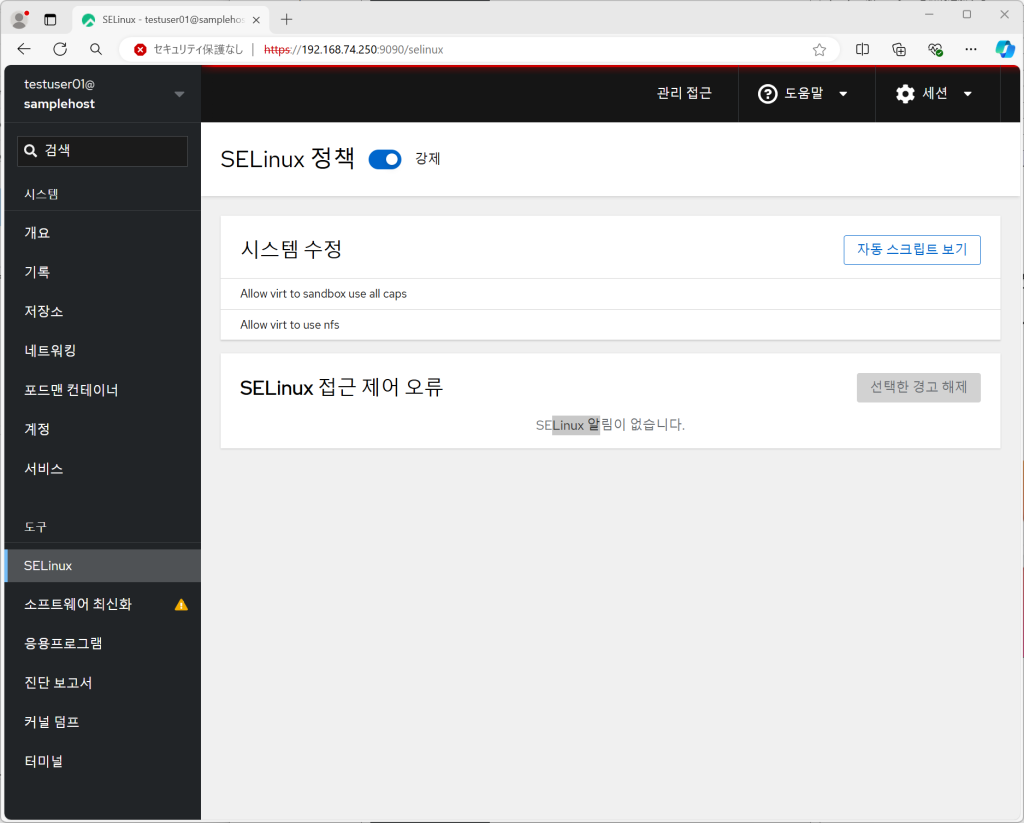
메뉴 “SELinux”
왼쪽 메뉴 [SELinux] 그럼 SELinux의 Alert가 참조 가능합니다.(SELinux 유효 전제)
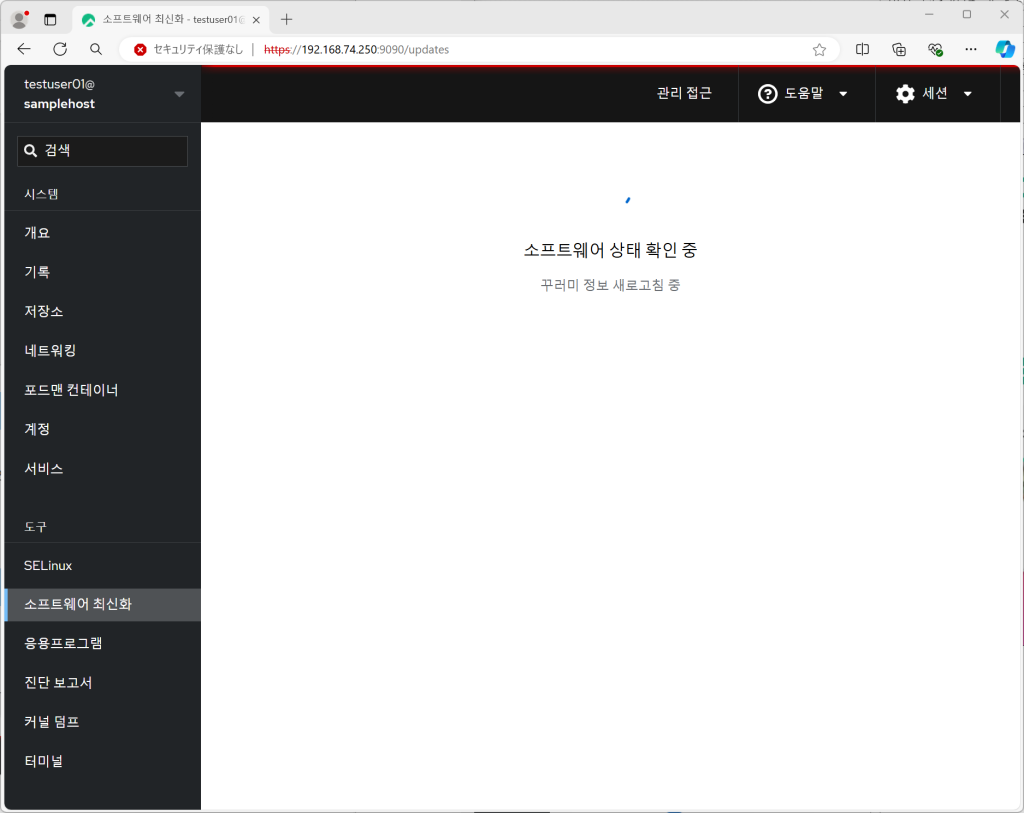
메뉴 “소프트웨어 최신화”
“소프트웨어 최신화”에서는 인스톨 끝난 패키지의 갱신 정보의 참조나 갱신 조작이 가능합니다.
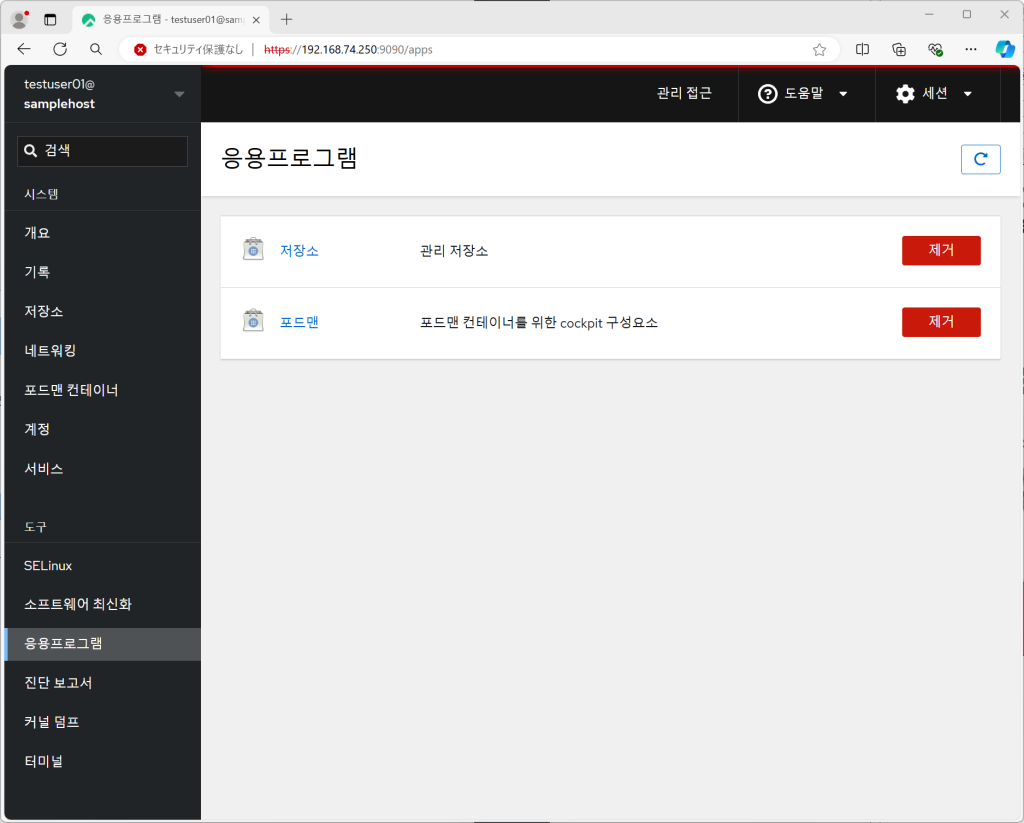
메뉴 “응용 프로그램”
“응용 프로그램”에서는 각 어플리케이션 설치 및 삭제 작업이 가능합니다.
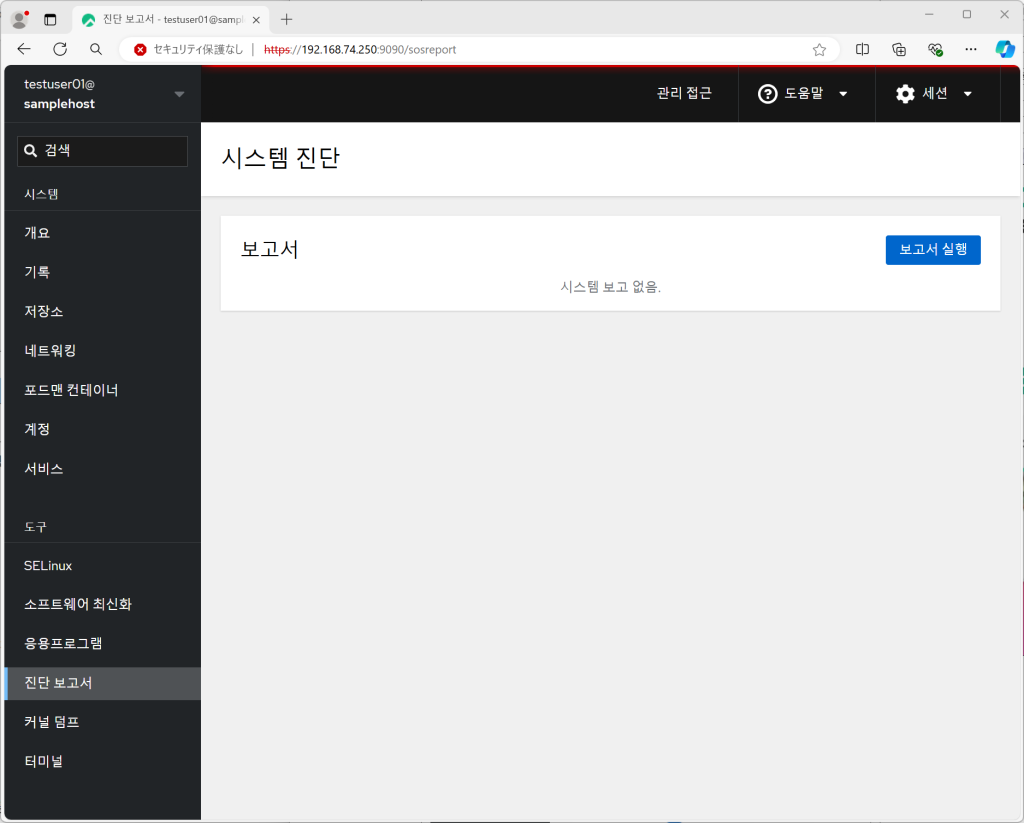
메뉴 “진단 보고서”
“진단 보고서”에서는 시스템 진단 보고서 생성 및 참조가 가능합니다.
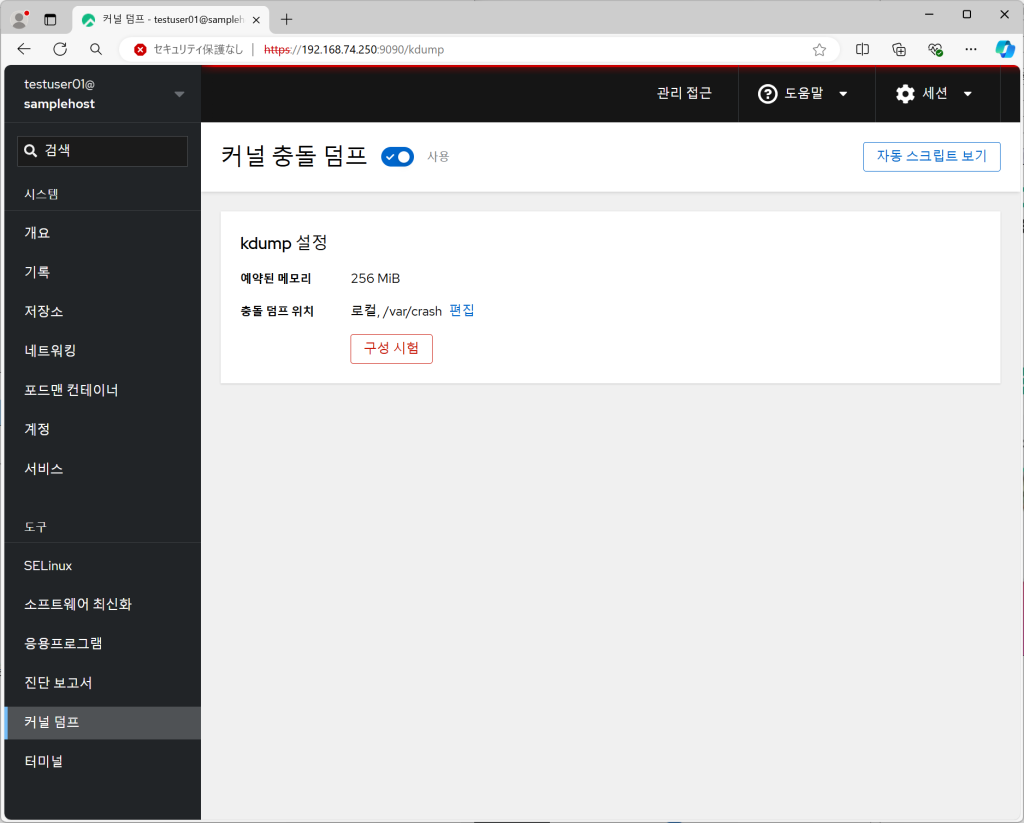
메뉴 “커널 덤프”
“커널 덤프”에서는 커널 덤프 상황을 확인할 수 있습니다. “kdump” 서비스가 가동 중인 것을 전제로 합니다.(기본은 자동 시작)
메뉴 “터미널”
“터미널”에서는 웹에서의 터미널 기능을 지원합니다. 직접 명령어 조작이 가능합니다.
